
How to Set Up an Inflatable Water Slide Safely in Your Backyard
You've rented the perfect water slide for your party. The kids are counting down the hours. Now you're standing in your backyard wondering: where exactly does this thing go, and how do I make sure it doesn't turn into a safety nightmare?
Setting up an inflatable water slide isn't complicated, but doing it safely requires attention to specific details. From finding the right spot in your yard to properly anchoring the unit, each step matters.
This guide walks you through the entire setup process so you can create a safe, fun environment without guessing.
Table of Contents
First-Time Setup
You've never set one up before and want to avoid rookie mistakes that could create safety issues or damage the unit.
Challenging Yard
Your backyard has slopes, limited space, or no grass in ideal locations. You need workarounds that still prioritize safety.
Party Day Approaching
The rental is arriving soon and you want a clear checklist to ensure everything goes smoothly without last-minute panic.
Understanding Space Requirements for Water Slides
Before you commit to a specific water slide, you need to know if it will actually fit in your yard. Space requirements extend beyond just the slide's footprint.
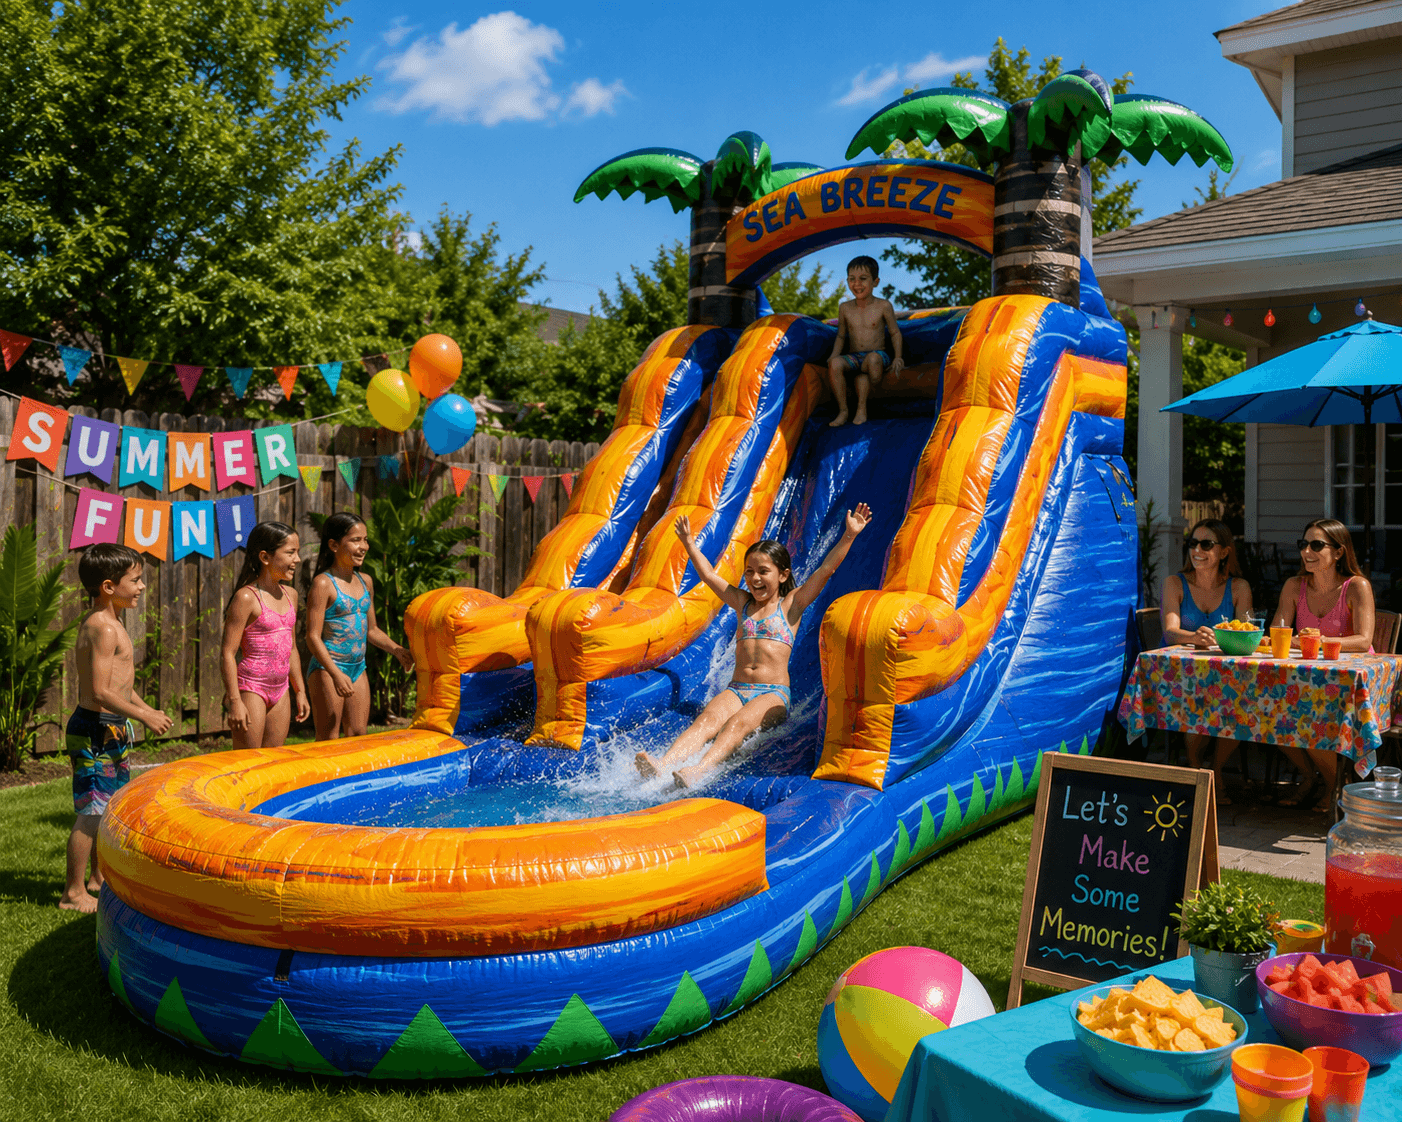
Most residential water slides measure between 12-18 feet wide and 25-35 feet long. But you can't place them flush against fences or structures.
Required Clearances
- 3-5 feet on all sides for stake placement and safe movement around the unit
- 10+ feet of overhead clearance away from tree branches, power lines, or roof overhangs
- Flat access path at least 4 feet wide for delivery and setup crew
- Hose reach distance from your outdoor spigot to the slide location
Measuring Your Space
Use a measuring tape or pacing method (1 average adult step ≈ 2.5 feet) to map your yard. Mark the potential setup area with garden flags or chalk.
Add 6-8 feet to both the length and width of the slide's stated dimensions. This gives you the true space footprint including clearances.
⚠️ Common sizing mistake: Measuring only the slide's stated dimensions without accounting for stake zones. Kids running around the unit also need clear space to avoid tripping over anchor points.
Choosing the Right Location in Your Yard
Not all flat areas are created equal. The surface type, drainage, and surrounding environment all affect safety and performance.
Best Surface Types for Water Slide Setup
Grass is the gold standard. It provides natural cushioning if someone falls, allows stakes to anchor deeply, and drains reasonably well. Your lawn doesn't need to be pristine, but it should be free of holes, gopher mounds, or sharp debris.
Avoid concrete, asphalt, or gravel unless you're using sandbag anchoring systems. Hard surfaces increase injury risk from falls and don't allow traditional staking.
✓ Ideal Conditions
- ✓ Level grass with minimal slope
- ✓ Away from fences, pools, or structures
- ✓ No overhead branches or wires
- ✓ Good drainage (no standing water areas)
- ✓ Visible from your party supervision area
- ✓ Shaded during peak sun hours (if possible)
✗ Locations to Avoid
- ✗ Slopes steeper than 5 degrees
- ✗ Areas with rocks, roots, or sharp objects
- ✗ Under power lines or cable TV lines
- ✗ Near pools (splashing kids create slip hazards)
- ✗ Low spots where water pools after rain
- ✗ Against walls or fences (no clearance)
💡 Pro tip: Walk the planned area barefoot before setup day. You'll immediately feel rocks, sticks, or uneven spots you might miss with shoes on. This is especially important in yards with irrigation sprinkler heads.
Dealing with Slopes and Uneven Ground
Minor slopes (less than 5 degrees) are manageable but not ideal. The slide entrance should always be at the higher end if there's any grade at all. This prevents water from pooling incorrectly and keeps the sliding surface properly angled.
If your entire yard slopes, pick the flattest section available and orient the slide so water naturally flows toward the exit/splash pool area. Never position a slide across a slope—this creates dangerous tipping potential.
Step-by-Step Water Slide Setup Process
Professional delivery teams typically handle setup, but understanding the process helps you prepare your yard properly and identify any issues before they arrive.

Clear and Inspect the Area
Remove all debris, toys, garden tools, and pet waste from the setup zone. Walk the area checking for hidden sprinkler heads, irrigation lines, or landscape lighting. Mark any utilities or obstacles with flags so the setup crew sees them immediately.
Position the Deflated Unit
Unfold the slide and spread it flat in the planned location. Orient it correctly before inflating—moving a partially inflated unit damages seams and creates stress points. The entrance should face your preferred direction with adequate runup space.
Attach the Blower Motor
Connect the blower tube to the slide's inflation port and secure it with the provided straps or velcro. Ensure the blower itself sits on stable ground and the air intake isn't blocked by grass clippings or debris. Position the power cord so it won't become a tripping hazard.
Inflate and Check Seams
Start the blower and allow the unit to fully inflate (typically 3-5 minutes). Watch for any unusual bulging, lopsided sections, or seams that don't look symmetrical. Full inflation means the unit is firm but has slight give when pressed—it shouldn't feel rock-hard or still be visibly sagging.
Anchor and Secure
Insert all stakes or attach sandbags at each anchor point (covered in detail in the next section). Never skip anchoring, even on calm days. Wind can develop quickly, and an unsecured inflatable becomes a dangerous projectile.
Connect Water Source
Attach your garden hose to the slide's water nozzle and turn on the water supply. Adjust flow to create a steady stream down the sliding surface without excessive pooling. Water should continuously flow while kids are using the slide—it's not a one-time fill.

⚠️ Setup timing: Allow 30-45 minutes for first-time setup. Once you've done it once, subsequent setups take 15-20 minutes. Plan to have the unit ready at least 30 minutes before guests arrive so you can run final safety checks.
Proper Anchoring and Staking Methods
This is the most critical safety step in the entire setup process. Improperly anchored inflatables have caused serious injuries when they tip, shift, or blow away.
Ground Stakes: The Standard Method
Metal stakes (typically 12-18 inches long) drive into the ground through loops or grommets at each anchor point. Most residential water slides have 6-8 anchor points distributed around the perimeter.
Proper Staking Technique
- Angle stakes 45 degrees away from the unit
- Drive stakes until only 2-3 inches remain above ground
- Ensure the anchor strap has no slack
- Cover exposed stake tops with safety caps or tennis balls
Testing Stake Security
- Pull each anchor strap with significant force
- Stakes shouldn't budge or tilt when pulled
- If a stake pulls loose, relocate it 12 inches away and re-drive
- Recheck all stakes after 15 minutes of inflation
Hard or rocky soil: If stakes won't penetrate more than 6-8 inches, you need alternative anchoring. Don't force stakes—bent or shallow stakes provide false security.
Sandbag Alternative for Hard Surfaces
For patios, driveways, or yards with impossible soil conditions, sandbags offer reliable anchoring. Each anchor point needs 40-50 pounds of weight.
Secure the anchor strap around each sandbag (not just laid on top) and position bags outside the unit's perimeter. Water-filled containers aren't reliable—they leak, freeze, and shift unpredictably.
🚨 Non-negotiable: Never operate an inflatable water slide without proper anchoring, regardless of weather conditions. Wind gusts can appear suddenly, and even a partially tipped unit creates serious injury risk.
Connecting Water and Electrical Safely
Water slides need two utility connections: electricity for the blower motor and water for the sliding surface. Both must be managed carefully to prevent hazards.
Electrical Requirements and Safety
The blower motor typically draws 7-12 amps and requires a standard 110V household outlet. Use a GFCI-protected outdoor outlet whenever possible—these automatically shut off power if moisture creates electrical danger.
Safe Power Connection
- ✓ Use outdoor-rated extension cords if needed
- ✓ Keep all connections off the ground
- ✓ Route cords away from walking paths
- ✓ Plug directly into outlets—avoid power strips
- ✓ Verify the outlet can handle continuous 12-amp load
Electrical Hazards to Avoid
- ✗ Indoor extension cords used outside
- ✗ Connections lying in wet grass or puddles
- ✗ Running cords under the inflatable
- ✗ Daisy-chaining multiple extension cords
- ✗ Using outlets inside your home through open windows
If your outdoor outlet is far from the setup location, invest in a proper 50-foot outdoor extension cord. Cord length affects voltage delivery—excessively long cords can cause the blower to underperform.
Water Hose Connection and Flow Management
Standard garden hoses work perfectly for water slides. The slide will have designated water nozzles (usually 2-4 connection points) that distribute water across the sliding surface.
Water flow should be continuous but not excessive. You want a slick sliding surface without creating dangerous pooling or making the splash zone overflow. Start with moderate flow and adjust based on how kids are sliding—if they're sticking or going too slowly, increase water slightly.
💡 Water conservation tip: Running a water slide for 4 hours uses approximately 200-300 gallons, similar to running a sprinkler system for the same duration. If water bills concern you, limit operating hours or use during off-peak rate times.
Pre-Party Safety Inspection Checklist
Before the first child climbs on, run through this final inspection. These checks take 5 minutes but prevent 95% of common water slide incidents.

Complete Safety Walkthrough
□ Inflation Level
Press firmly on the slide walls—they should have give but bounce back quickly. No sagging areas or over-tight sections that feel like they might burst.
□ All Stakes Secure
Tug each anchor strap forcefully. Zero movement. Check that safety caps cover all exposed stake tops.
□ Water Flow Adjusted
Sliding surface consistently wet with no dry patches. Splash pool catching water without overflowing onto surrounding areas.
□ Electrical Connections Dry
All plugs and connections elevated off wet ground. Cords not creating trip hazards across walking paths.
□ Perimeter Clear
3+ feet of clearance on all sides. No furniture, toys, or obstacles near the entrance or exit points.
□ Weather Check
Wind below 15 mph. No storms forecasted within the next 3 hours. If wind picks up during use, deflate immediately.
□ Supervision Plan Set
Designated adult positioned with clear view of the entire slide. No blind spots where kids could get injured unseen.
⚠️ Weather shutdown rule: If wind exceeds 15 mph or storms approach, shut down the blower and clear all children off the unit immediately. A deflating slide with kids still on it creates entrapment and injury risk.
Frequently Asked Questions
How much space do I need for a backyard water slide?+
Most inflatable water slides need a flat area at least 12-15 feet wide and 25-35 feet long, depending on the slide size. You'll also need 3-5 feet of clearance around all sides for stakes and safe movement. Measure your yard before selecting a slide to ensure proper fit.
What surface is safe for setting up a water slide?+
Grass is the ideal surface for inflatable water slides. It provides natural cushioning and allows stakes to anchor securely. Avoid concrete, asphalt, or rocky areas unless you're using sandbags instead of stakes. Clear the area of sticks, rocks, and sharp objects before setup.
Do I need a special hose to connect to a water slide?+
No special hose is required. A standard garden hose connects to the slide's water nozzle. Make sure your hose reaches from your outdoor spigot to the slide location with a few feet to spare. Water pressure from a typical residential hose is sufficient for proper operation.
How long does it take to set up an inflatable water slide?+
Setup typically takes 15-30 minutes with two adults. This includes positioning the slide, staking it down, connecting the blower and water hose, and allowing the unit to fully inflate. First-time setups may take slightly longer as you familiarize yourself with the process.
Can I set up a water slide on uneven ground?+
Minor slopes (less than 5 degrees) are usually manageable, but significant inclines create safety hazards. Water slides need relatively flat surfaces to prevent tipping, uneven water distribution, and dangerous sliding angles. If your yard has slopes, choose the flattest section available.
What do I do if I don't have ground stakes available?+
Use sandbags (40-50 lbs each) as an alternative anchoring method. Most water slides have attachment points designed for either stakes or sandbags. This option works well for hard surfaces like patios or when ground conditions prevent stake insertion. Never operate an inflatable without proper anchoring.
Ready to Create Safe Water Slide Fun?
Understanding proper setup creates a safer, more enjoyable experience for everyone at your party. When you're ready to explore water slide options, we're here to help you choose the right fit for your space.
No pressure, no pitch. Just helpful guidance for your party planning. See what our customers say about working with us.